
6 mistakes people make while kneading atta and why the rotis don’t turn out right
6 mistakes people make while kneading atta and why the rotis don’t turn out right
In many Indian kitchens, kneading atta is such a routine task that it rarely feels like a skill. It’s done almost automatically a little flour, some water, a few minutes of mixing, and yet the difference between soft, fluffy rotis and dry, hard ones often begins right here. Perfect dough is not about strength or speed; it’s about understanding texture, moisture, and patience. Small mistakes made during kneading quietly affect everything that follows, how the dough rolls, how the roti puffs, and even how long it stays soft after cooking. Here are six common mistakes people make while kneading atta, and how correcting them can completely change your rotis.
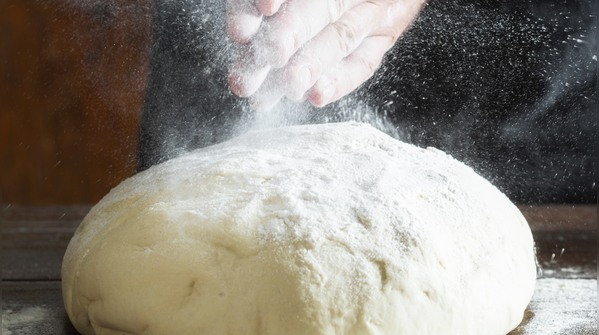
Adding too much water at once
One of the most common errors is pouring water into the flour all at once. It feels quicker, but it usually creates sticky, uneven dough that becomes difficult to handle. Atta absorbs water gradually. When too much water is added early, parts of the dough become overly wet while other areas remain dry, forcing you to add extra flour later, which ultimately makes rotis dense. The better approach is slow hydration. Add water little by little, mixing continuously so the flour absorbs moisture evenly. This allows gluten to develop naturally, creating soft and pliable dough.
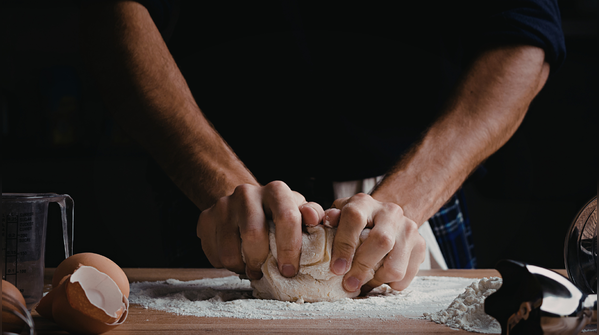
Kneading either too little or too aggressively
Many people assume kneading harder equals better dough. In reality, both under-kneading and overworking the dough can ruin texture. If kneaded too little, the dough remains rough and cracks while rolling. If kneaded aggressively for too long, it becomes tight and elastic, making rotis chewy instead of soft. Good kneading is rhythmic and gentle. The goal is to press, fold, and turn until the dough feels smooth and slightly springy, not stiff. Usually, 6–8 minutes of steady kneading is enough for home cooking.
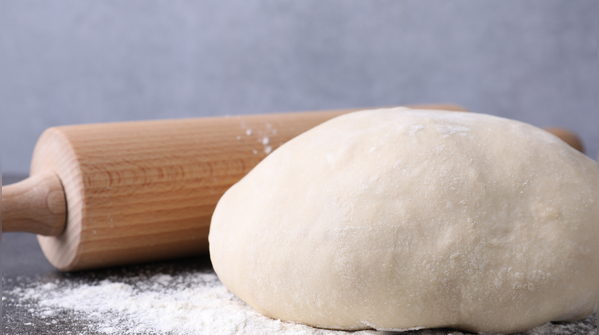
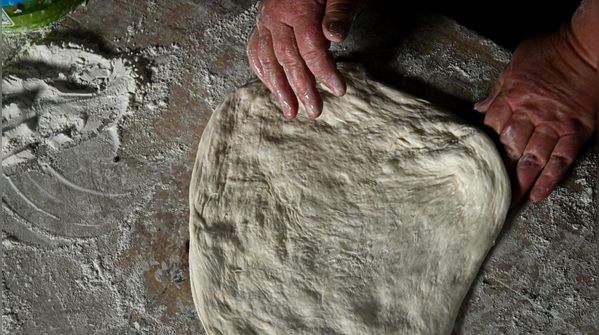
Skipping the resting time
This is perhaps the most overlooked step. Many people knead atta and immediately start rolling rotis, especially when cooking in a hurry. Resting the dough for at least 15–20 minutes allows the flour to fully hydrate and the gluten structure to relax. Without this pause, the dough resists rolling, and rotis tend to shrink back or turn hard after cooking. Covering the dough with a damp cloth or lid during resting prevents drying and helps achieve that soft, pliable consistency seen in well-made rotis.
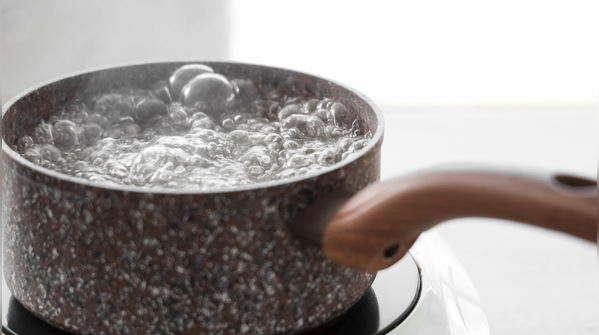
Using very hot or very cold water
Water temperature plays a bigger role than most people realise. Extremely hot water partially cooks the flour, making dough sticky, while very cold water prevents proper binding.
When flour meets water, gluten begins to develop and the texture of the dough starts taking shape. The right temperature allows this process to unfold gradually, helping the flour hydrate evenly without forming lumps or patches that can later affect how the rotis roll and cook.
Room-temperature or slightly warm water works best because it helps the flour absorb moisture evenly and makes kneading easier. The dough becomes smoother faster, requiring less effort and producing softer rotis. Many experienced home cooks instinctively use lukewarm water, a small detail that makes a noticeable difference.

Not adding a little fat when needed
Traditional atta dough doesn’t always require oil or ghee, but completely dry dough can sometimes lead to rotis that harden quickly, especially in dry climates or air-conditioned kitchens.
In many Indian kitchens, small adjustments like this are often guided by experience rather than strict measurement. Cooks notice how flour behaves with the seasons, humidity, and even the quality of wheat, and adapt the dough accordingly to maintain softness and flexibility.
Adding a small amount of oil or ghee during kneading improves elasticity and helps retain moisture. The rotis stay softer for longer and reheat better later. The key is moderation; just a teaspoon or so is enough to enhance texture without making the dough greasy.
Leaving the dough exposed to air
After kneading, many people leave the dough uncovered while preparing other ingredients. This causes the surface to dry out and form a crust, which later creates cracks during rolling.
The outer layer begins losing moisture quickly when exposed to air, especially in warm kitchens. Once that thin dry layer forms, it interferes with smooth rolling and makes the dough harder to shape evenly without tearing or rough edges.
Dry patches also prevent rotis from puffing properly because the dough loses uniform moisture. Always cover the dough with a lid, damp cloth, or wrap to preserve softness. It’s a small habit that significantly improves consistency.
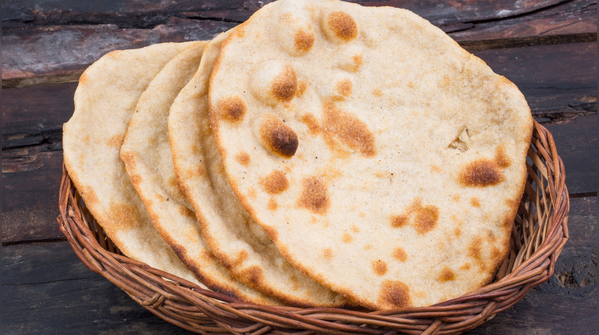
The secret behind soft rotis
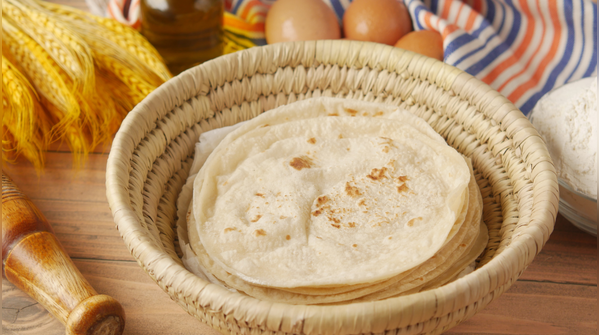
Kneading atta looks simple, but it quietly combines science and instinct. Flour needs time to absorb water, gluten needs gentle development, and dough needs rest to relax. When these steps are respected, they favour softer rotis that puff better and stay enjoyable even hours later.In many homes, perfect rotis are associated with experience, the kind learned by watching parents or grandparents cook without measuring anything precisely. But the truth is simpler: good dough comes from patience more than technique. Because long before the tawa heats up, the quality of a roti has already been decided, right there in the bowl where the atta is kneaded.
Featured In Food

MORE FROM ETIMES
life & style